The machined parts are already smooth so it is only necessary to sand with 2 grades of sandpaper ñ 220 grit, and 400 grit. These can be found at building supply houses and hardware stores. A single 8.5 inch by 11 inch sheet of each grit will be plenty.
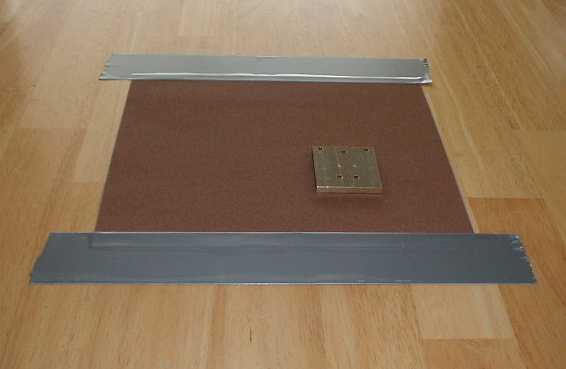
Sand on a flat surface such as the kitchen table (you might want to do this while your wife is out shopping!). Place the sandpaper down and tape it around the edges. Start with the 220 grit paper. Put the paddle base on the paper with the edges of the base parallel to the paper as shown in the picture above. Sand the base in a straight line using short back and forth strokes. Continue sanding the base on all 6 sides until the part is clean, and smooth. Note: the bottom of the base only needs to be sanded once (you don't want to remove the S/N!). In a similar manner, sand the remaining brass parts. Then remove the 220 grit paper and tape down the 400 grit paper. Sand all parts. If you like a smooth satin finish, you can stop here. If you want a more glossy finish, you can polish the parts.
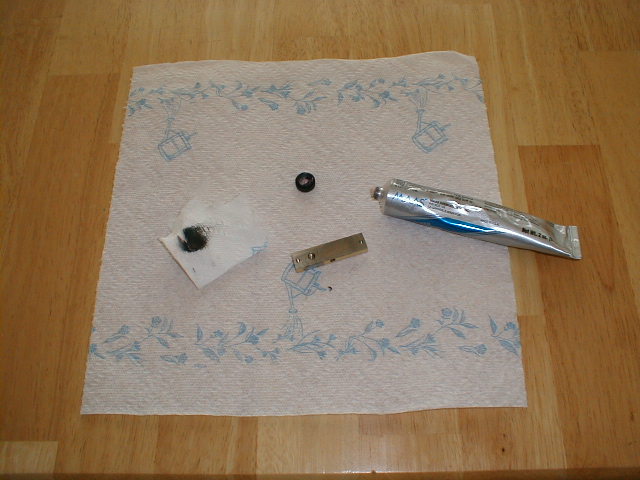
Use a modern day metal polish like FLITZ or MAAS. Flitz is available from most gun dealers and MAAS is available from Home Depot. Both polishes should be used sparingly. If you want a mirror like shine, use your Dremel or similar tool with a polishing bonnet to do the polishing. At 25,000 RPM, it doesnít take long to get a mirror like shine. After polishing, clean the parts with dish soap and warm water. Make sure you get the polish out of the holes. Dry the parts with paper towels and DO NOT touch them with your bare skin until after you have lacquered them. I use white cotton gloves (AKA inspection gloves) to handle the parts prior to spraying them with lacquer.

Before adding any finish to the brass parts, you will need to debur the holes. Deburring can be done using a 3/8 inch diameter drill bit. Gently twist the large drill bit into each hole. It will put a slight bevel on the edge of the hole and leave it clean.

Lacquering is just like painting except the lacquer is clear. You can buy a spray can of lacquer from your local building supply or paint store. Since lacquer is an insulator, you will need to mask off the threaded holes. Old 4-40 screws can be used for the masking. The bottom of the base should not be sprayed. The bottom needs to stay conductive to insure proper grounding of the arms. Spray light coats and build up the finish rather than using a single heavy coat. This method will help avoid runs (my car painting buddy calls them "flow indicators"). :-) You will need to allow 8-10 hours of drying time before handling.
There are other products on the market besides lacquer. I have also used everbrite (www.everbrite.net). Everbrite is a good product but a bit pricey. A small 4 oz can of everbrite sells for $15 + shipping. It covers well and lasts a long time.
After allowing ample time for drying, you will need to debur the holes again. This gets excess finish off of the holes.
Copyright © 04/2006 Jerry W. Haigwood